10-Step Gua Sha Flow: Sculpt, De-Puff, and Unwind
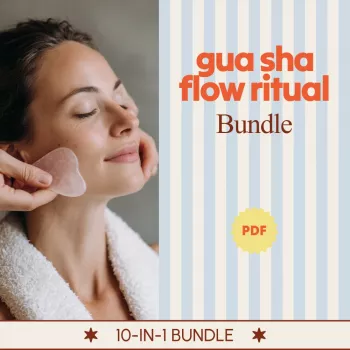
Gua Sha Flow Ritual Bundle: A 10‑Step Digital Routine for Sculpting, Drainage, and Calm
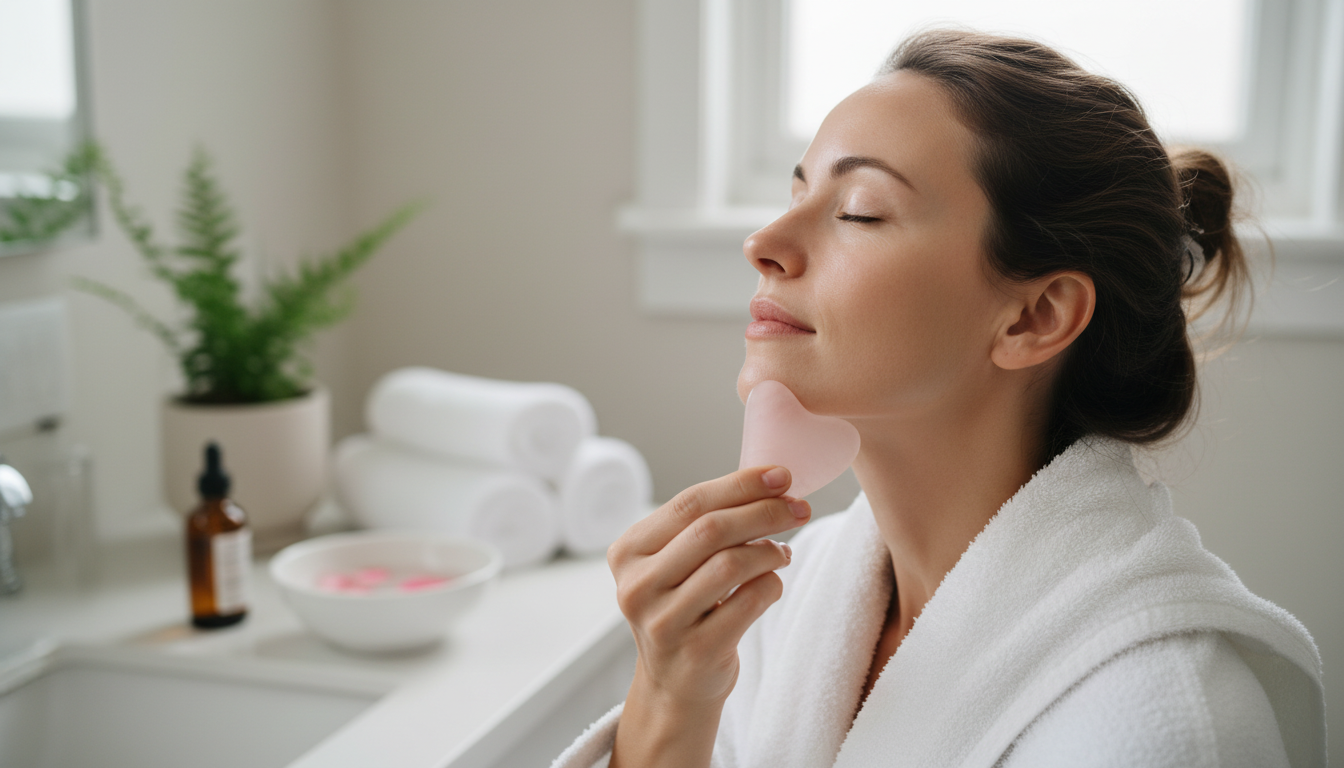
A consistent gua sha practice can feel both sculpting and soothing when it follows the right order, pressure, and pacing. The Gua Sha Flow Ritual Bundle – 10-in-1 Digital Download organizes a complete routine into repeatable steps that support facial massage, lymphatic-style sweeping, and a calmer wind-down ritual—without turning your mirror time into guesswork.
What the Gua Sha Flow Ritual Bundle Includes
This digital download is built for real-life consistency: quick sessions when you’re busy, and longer sessions when you want a full reset. It’s designed to be used at home with your gua sha tool plus a slip product (oil, balm, or serum) so the edge glides instead of drags.
- 10-in-1 digital download designed to guide a complete routine from prep to finishing sweeps
- Structured sequencing to help keep pressure light-to-moderate and strokes consistent
- Designed for at-home use with a gua sha tool and a slip product to reduce tugging
- Supports a repeatable habit: short daily flows or longer sessions a few times per week
- Easy to reference on a phone or tablet near a mirror (a fast top-up charger like the 65W GaN USB C Fast Wall Charger with Quick Charge can be handy if you keep your guide open while you practice)
At-a-glance routine map (example pacing)
| Step | Area | Goal | Suggested time |
|---|---|---|---|
| 1 | Neck (front/side) | Create gentle pathways and reduce tension | 1–2 min |
| 2 | Collarbone/upper chest | Light sweeping for drainage-style flow | 1 min |
| 3 | Jawline | Sculpting strokes + relaxing clench points | 2 min |
| 4 | Cheeks | Lift and smooth with outward strokes | 2–3 min |
| 5 | Under-eye (very light) | De-puffing style sweeps; comfort-first | 30–60 sec |
| 6 | Brows/forehead | Release tension and soften expression lines | 2 min |
| 7 | Finishing sweeps | Downward/outward flow to complete | 1 min |
How to Set Up for a Comfortable Session
- Start with clean skin; apply a thin, even layer of slip (oil/balm/serum) so the tool glides without dragging.
- Tie hair back and keep posture tall; neck positioning affects comfort and stroke direction.
- Use a cool tool for a refreshing feel or a room-temperature tool for a more relaxing, tension-melting session.
- Keep pressure light, especially around the eyes and over delicate areas; aim for smooth glide, not scraping.
- Plan for consistency: 3–5 minutes daily or 10 minutes a few times per week can feel more sustainable than a long session once in a while.
If you’re new to lymphatic-style massage concepts, it helps to remember that “lighter is often better.” For general background on lymphatic drainage massage, see Cleveland Clinic’s overview.
The Core Flow: Order, Direction, and Pressure
- Begin at the neck and collarbone region before moving to the face to support a cohesive, top-to-bottom routine.
- Use outward and upward strokes on cheeks and jaw for sculpting-style massage while keeping the tool nearly flat to the skin.
- For de-puffing, keep strokes slower and lighter; avoid rapid, harsh movements that can irritate.
- Repeat each stroke 3–5 times rather than doing many random passes; repetition builds a clear rhythm.
- Finish with gentle, longer sweeps to signal the end of the routine and encourage relaxation.
A helpful cue: if your skin looks pulled or “grabbed,” add more slip and flatten the angle of the tool. Comfort and glide come first.
Sculpting Focus: Jaw, Cheek, and Brow Tension
- Jawline: move from chin toward ear with steady, even pressure; pause at tight spots rather than pressing harder.
- Cheeks: glide from the side of the nose outward toward the cheekbone; support the skin with the free hand if needed.
- Brows/forehead: sweep from center outward; keep pressure especially light across the temples.
- If clenching is common, pair jaw strokes with slow nasal breathing for a more calming effect.
- Track changes by feel (less tension, softer “set” in the face) instead of expecting dramatic visual shifts after one session.
Lymphatic-Style Drainage: De-puffing Without Overdoing It
- Use the lightest pressure around the under-eye and across the upper cheek; the goal is gentle movement, not deep tissue work.
- Keep strokes slow and consistent; rushing tends to increase redness and sensitivity.
- If puffiness is strongest in the morning, try a short session after hydration rather than an intense session later.
- Avoid working over active breakouts, irritated skin, or sunburn; choose calming touch over friction.
- If swelling is persistent, painful, or one-sided, stop and seek medical advice to rule out other causes.
General massage safety guidance can also be found through the NCCIH (NIH) massage therapy resource.
When Gua Sha Isn’t a Good Idea
For day-to-day sensitivity support, the American Academy of Dermatology’s tips for sensitive skin can help you keep your routine gentler overall.
Making It a Calm Ritual: Pairing the Routine With Recovery
Digital Download Tips: How to Use the Bundle Day to Day
Ready to keep your steps consistent? The Gua Sha Flow Ritual Bundle – 10-in-1 Digital Download is designed to make your flow easy to repeat—whether you’ve got three minutes before work or fifteen minutes before bed.
FAQ
Does gua sha help broken capillaries?
Broken capillaries (visible facial vessels) usually don’t “heal” from massage, and too much pressure or friction can make redness look worse. If you’re prone to visible vessels, keep technique very gentle, avoid scraping, and consider a dermatologist for persistent redness.
Why is gua sha not recommended?
It’s often not recommended on inflamed, infected, or compromised skin (open wounds, rashes, sunburn), after recent peels/laser, or for people who bruise easily or use blood thinners without medical clearance. Stop if you feel pain or notice bruising, and prioritize more slip plus lighter pressure.


Leave a comment